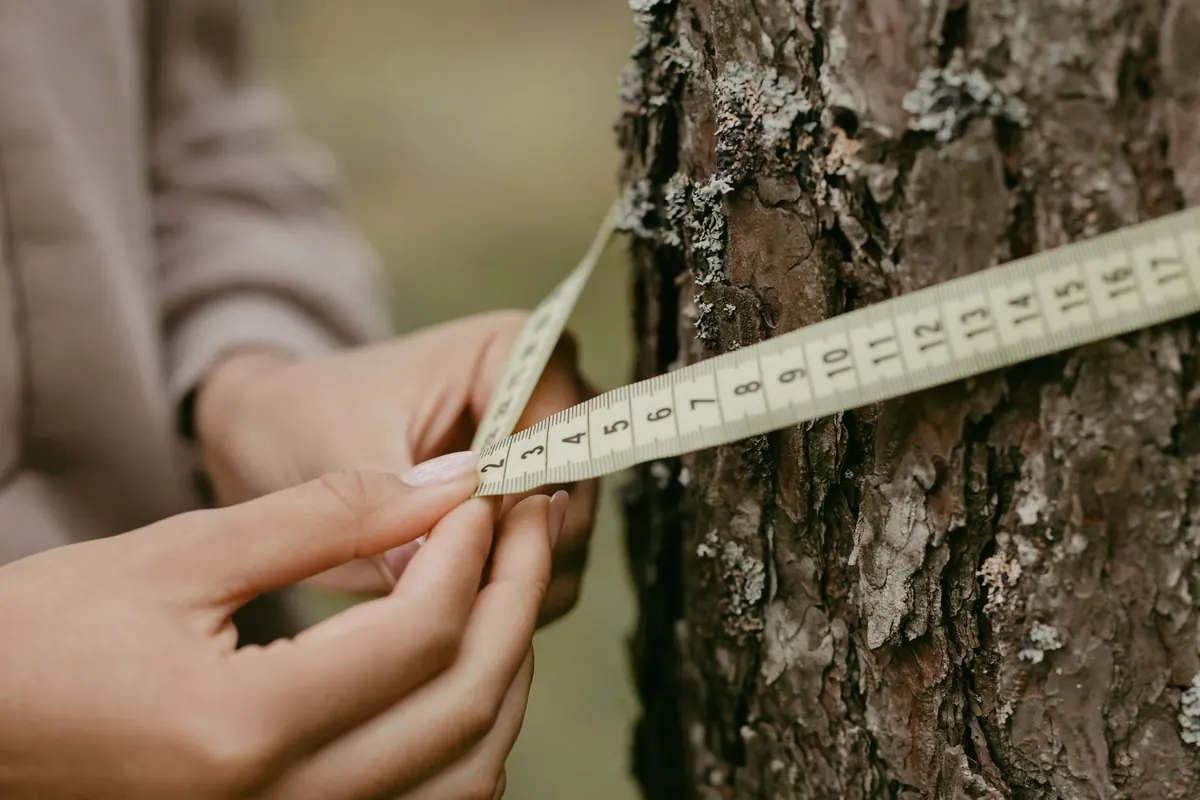
Measuring a garden is one of those jobs that looks fussy until you try to draw a planting plan on top of a vague sketch. A path that seemed straight turns out to curve, the shed is wider than expected, and the border you thought was three metres deep is closer to four. A proper base map fixes those surprises on paper before they become mistakes in soil, stone or plants. You do not need surveying qualifications to get reliable numbers. You need a tape measure, a notebook, patience and a method you repeat from one side of the garden to the other.
What Your Base Map Needs to Record
A base map is the skeleton of every garden plan. It shows the fixed elements — boundaries, house walls, paths, patios and structures — at a consistent scale, without decorative detail. Planting plans, irrigation layouts and lighting schemes can all be drawn on top later, so accuracy matters more than beauty at this stage.
Walk the garden with a notebook before you measure anything. Note the features that affect how the space is used or dug: boundary fences and walls, the house footprint and doors, paths and steps, patios and decks, sheds and greenhouses, trees and large shrubs, drains, taps, manholes and obvious utility covers. Do not guess at underground services; if you plan to dig, check with the relevant service providers or a qualified professional first. For the drawing, record what you can see and measure, and mark anything uncertain with a question mark.
- Boundary corners and the overall shape of the plot.
- House walls, doors, windows and attached steps or terraces.
- Paths, patios, driveways, edges and retaining walls.
- Trees, large shrubs and fixed features such as sheds, ponds or pergolas.
- Services and access points you may need to avoid or connect to.
Tools That Earn Their Place
You can spend a lot on surveying equipment, but a beginner’s kit is modest. A long tape measure — 30 metres is a useful length for most domestic gardens — and a shorter 5-metre tape for details will cover most work. Add a notebook with a firm back, sharp pencils, an eraser, a clipboard and several sheets of graph paper. A scale ruler is helpful later, though a normal ruler and a calculator will do.
For marking points, use wooden pegs, tent pegs or garden canes with flags. A ball of string and a line level help you run a straight baseline and check slopes. A compass, or the compass in your phone, tells you which way north is, and a camera saves confusion when you are back at the kitchen table. A measuring wheel is quick on long paths but less precise over rough ground; use it as a rough check, not as your main measurement.
The Baseline Method: Straight Lines First
Almost every accurate garden survey starts with a baseline. Choose the longest straight, reliable line you can find: a house wall, a fence line or a straight boundary. Measure it carefully and write down the overall length. Mark the two ends clearly. This line becomes the reference from which other features are located.
Offsets from a baseline
An offset is a measurement taken at right angles from the baseline to a feature. If you are recording a curved border, run a tape along the baseline and measure outwards at regular intervals — every metre, or every half-metre where the curve turns sharply. Write each distance along the baseline and the matching offset together, such as “3.0 m along, 1.4 m out”.
Triangulation for awkward points
For a shed corner or a tree trunk that does not sit neatly off the baseline, use two fixed points at either end of the baseline and measure the distance from each point to the feature. Those two measurements form a triangle, which fixes the feature’s position. A third measurement — the diagonal between two known points — makes a useful check.
To keep corners square, use the 3-4-5 method. Measure 3 metres along one line and 4 metres along the other, then adjust until the distance between the two marks is 5 metres. The same ratio works in feet or any unit, and it is a simple way to check that a patio or bed is truly rectangular.
Measuring Awkward Shapes and Slopes
Few gardens are made of neat rectangles. For an irregular lawn or border, break the shape into triangles and rectangles, measure each one, and sketch the subdivisions on your plan. For a curved edge, use offsets taken at regular intervals from a straight line, then join the points with a smooth curve on the drawing. If a shape is very complicated, measure more points rather than guessing.
On sloping ground, measure the horizontal distance for the plan, not the distance along the slope. A tape pulled tight along a slope reads longer than the flat plan distance, so keep the tape level where possible or measure in short horizontal steps. Note the slope separately — “rises about 0.8 m over 6 m” — because it affects steps, drainage and planting even though it does not change the outline on a flat drawing.
Recording as You Go
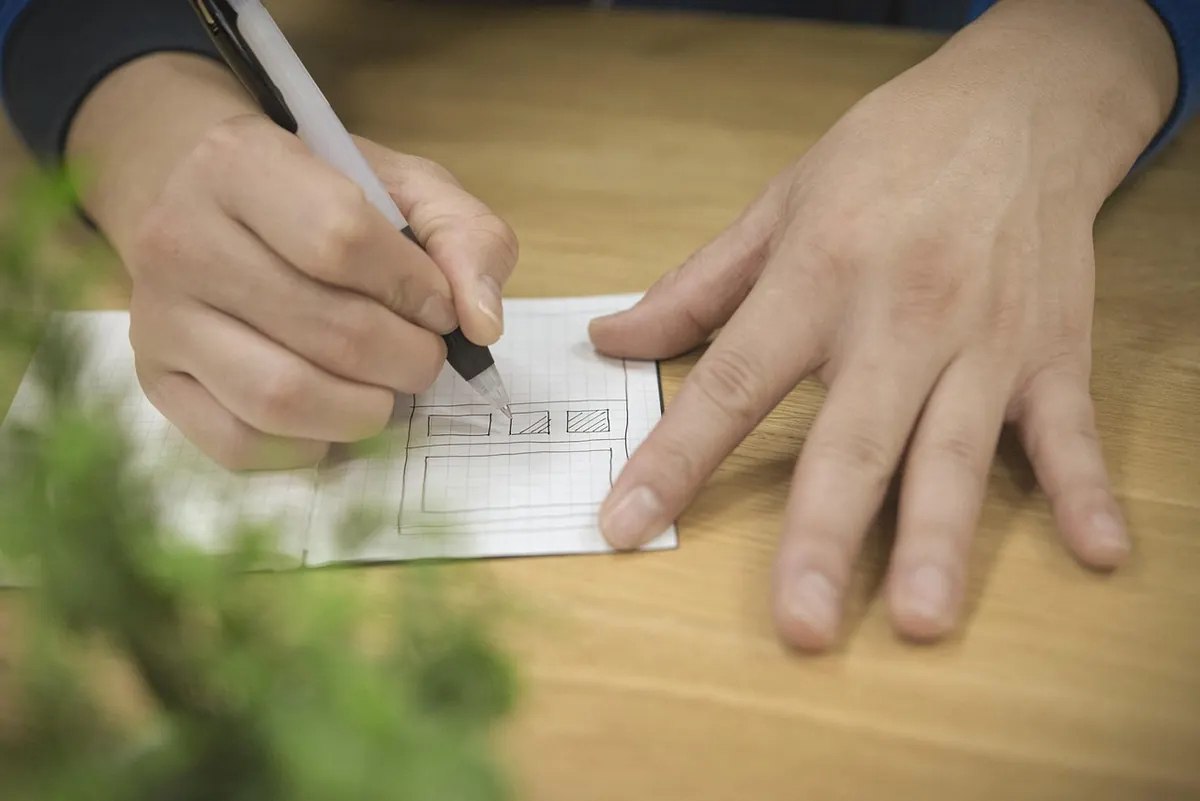
Start with a rough freehand sketch, not a beautiful drawing. Put the house at the bottom or side of the page, mark north, and add the boundary shape. Label every fixed point with a letter or number as you measure it, then write the measurements in a table or list beside the sketch. Use one unit throughout — metres and centimetres, or feet and inches — and note it clearly at the top of the page.
Take a few overall dimensions as well as detailed ones: the full width of the garden, the length of each boundary and the distance between opposite corners. These overall checks catch small errors before they multiply. Photograph the sketch and any confusing corners before you leave the garden.
If a measurement does not match the sketch, stop and re-measure. A ten-minute check now is easier than redrawing a plan later.
Turning Measurements into a Scale Drawing
A scale drawing simply shrinks real measurements by a fixed amount. The scale is written as a ratio, such as 1:100, which means one unit on paper represents 100 of the same units in the garden. For a small garden, 1:50 gives plenty of detail; 1:100 suits many medium gardens; 1:200 fits a large plot onto a single sheet. Choose the scale that lets the whole garden fit on your paper with room for notes.
A simple conversion routine
Convert every measurement to the same unit first — centimetres are easiest in metric. Then divide by the scale number. At 1:100, a 12-metre boundary is 1,200 cm ÷ 100 = 12 cm on paper. At 1:50, the same boundary is 1,200 ÷ 50 = 24 cm. At 1:200, it becomes 6 cm. If you work in feet and inches, a common scale is 1/8 inch to 1 foot; check a scale ruler for the exact divisions rather than converting every number by hand.
- Draw the boundary and house first, using the longest reliable measurements.
- Plot fixed points with offsets or triangulation, then join them lightly in pencil.
- Add paths, beds, trees and structures in a sensible order, checking against overall dimensions.
- Leave space for a title, north arrow, scale bar and date.
Graph paper makes the job easier. At 1:100, one centimetre on paper equals one metre in the garden; at 1:50, one centimetre equals half a metre. Once the main outline is right, copy it onto a clean sheet or trace it, so your working lines do not clutter the final base map.
A First Afternoon That Pays Off
Begin with one boundary and the house wall. Measure them twice, sketch the result, and stop while you are still fresh. On the next dry afternoon, add paths, beds and trees using the same baseline.
Photo: cottonbro studio / Pexels