Before you move a single shrub, the garden already has a plan. It's written in plants. A mature oak, a hedge that took eight years to thicken into a proper screen, a rose that sulks everywhere except one south-facing corner: these are assets you can't reorder from a nursery catalogue. A redesign that ignores them tends to end in one of two ways. Either a healthy specimen gets sacrificed because a bed line was drawn a metre too far east, or a struggling tree is preserved out of guilt and left standing in the middle of a new patio, dropping leaves into the drainage.
An inventory is the unglamorous step that prevents both. It takes two weekends, a clipboard, and a willingness to look at what is actually there rather than what you remember planting.
What an Inventory Actually Solves
Most garden redesigns start with a wish list and a clean sheet of paper. That clean sheet is the problem. It flattens a site that has decades of accumulated structure into an empty rectangle, and empty rectangles invite expensive decisions.
An inventory gives you three things a sketch can't. First, it protects value: established trees and hedges provide shade, screening, and habitat that a new planting won't match for years, so knowing exactly what you have keeps you from spending money to replace something you already own. Second, it exposes problems early. A tree with a cavity at the base, a shrub suckering into the lawn, a conifer that has outgrown its corner — better to find those in a survey than in year two of a planting plan. Third, it makes the design defensible. When you can point to a measured canopy spread and a root zone drawn on paper, moving a path by half a metre stops being a matter of taste.
One practical note: some municipalities protect trees above a certain trunk size, and in some areas hedges are covered too. If removal is on the table, check with your local planning authority before you book anyone with a chainsaw.
Build the Base Map and Number Everything
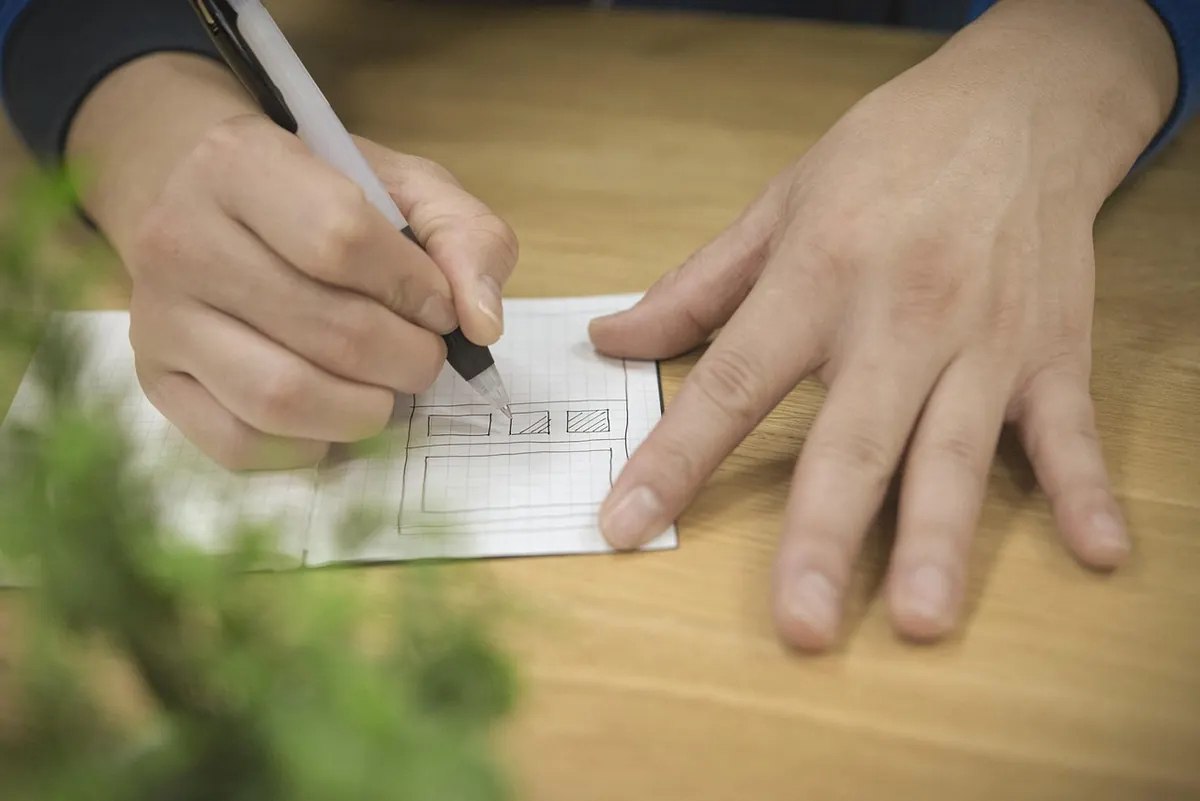
Start with an accurate plan of the plot. A printed survey drawing is ideal; a measured sketch on graph paper works fine. Note the house walls, boundaries, paths, and any buried services you know about. Set a scale — 1:100 is comfortable for most gardens — and stick to it, because everything you add later depends on it.
Then walk the garden and number every plant worth recording. Not the whole border, just the specimens that matter: trees, large shrubs, hedges, climbers on permanent structures, and any herbaceous clumps you'd grieve over. Work in zones so the numbers stay manageable. A prefix for each area — N for the north border, F for the front garden — plus a running number gives you N-01, N-02, and so on. Mark each one with a tag and a matching flag, then pin the same number on the base map.
Tags that survive a season
Paper labels and marker pen fade within months. Use embossed aluminium or sturdy plastic labels, write the number on both sides, and fix them at eye level where you can read them without kneeling. For trees, a soft tie around a stake beside the trunk is kinder than anything wrapped around the bark. Keep a second copy of every number on the map itself. If a tag disappears — and some will — the map is your backup.
Measure What You Can't Estimate
Eyeballing is where inventories quietly fall apart. A shrub you'd swear is a metre wide is often closer to 1.8m once the tape comes out, and that difference decides whether a path fits beside it.
Trunk and canopy
For trees, measure the trunk at roughly chest height — the standard is about 1.3m above ground. Wrap a fabric tape around the trunk and divide the circumference by 3.14 to get the diameter. For multi-stemmed trees, measure each stem and note it as such. Canopy spread is easiest with two people: one holds the tape at the trunk, the other walks to the drip line, the point directly below the outermost leaves. Do this on two perpendicular axes and average them.
Shrubs are simpler. Record the widest spread and the height. For hedges, note the length, height, and depth of the run — those three numbers determine how much screening you'd lose if you took it out.
Height without a laser
Hold a straight stick at arm's length so that the length of stick above your hand equals the distance from your eye to your hand. Keep it vertical, then walk toward or away from the tree until the top of the stick lines up with the treetop and your hand lines up with the base. At that point, the distance from your feet to the trunk equals the tree's height. Pace it out, or drop a tape. It's not survey-grade, but it's close enough to tell you whether a proposed structure will sit in shade.
Judge Condition Before You Judge Beauty
A plant can be ugly and healthy, or beautiful and doomed. Record them separately. For each specimen, put four questions to yourself:
- Structure: Are the main limbs sound? Look for crossing branches, included bark where two trunks meet, fresh cracks, or fungal brackets near the base.
- Vigour: How much growth did it put on last season? Short, crowded twigs and thin leaf cover tell you more than a single bare branch.
- Pests and disease: Note what you can actually see — cankers, distorted leaves, feeding damage — and photograph it. Identification can wait; recording can't.
- Context: Is it in the right place for its eventual size? A tree planted 2m from a wall may be perfectly healthy and still the wrong plant in the wrong spot.
Anything that looks structurally dangerous deserves a professional arborist's opinion rather than yours or mine. Don't climb, don't cut, and don't assume a lean is fine because it has always leaned.
Decide: Keep, Move, or Remove
Now the honest part. Give every numbered plant one of three verdicts and write down why. A short justification beside each decision stops you revisiting the same argument in three weeks.
- Keep: Healthy, well-placed, and contributing something — shade, screening, structure, or a season of interest nothing else provides. These are your fixed points; design around them.
- Move: Worth saving but in the way. Be realistic about size. Small shrubs and young trees transplant reasonably well in the right season; a mature specimen rarely does, and the failure rate climbs fast with age. If moving means a root ball you can't lift, reconsider.
- Remove: Declining beyond recovery, structurally risky, invasive, or simply in the wrong place for the garden you're building. Removing a plant isn't a failure. Keeping a bad one out of sentiment is.
Mark the keepers on the map in green, the movers in amber, the removals in red. Sketch a rough circle for each root zone: an approximate guide is that roots extend well beyond the canopy, so treat the drip line as a minimum, not a boundary. That circle is the area to fence off and keep traffic and stockpiles away from during construction.
Put It Somewhere You'll Find It Again
A clipboard of notes that never gets typed up is a wasted weekend. Transfer everything into a simple spreadsheet with one row per plant, and add columns for:
- Tag number and zone prefix
- Plant name, common and botanical, with "unknown" allowed
- Type: tree, shrub, hedge, climber, herbaceous
- Height and spread, in metres
- Trunk diameter, if relevant
- Condition notes and photo reference
- Verdict: keep, move, or remove — plus one line of reasoning
- Root zone radius and any protection notes
Photograph each specimen from the same angle, name the files to match the tag numbers, and store them in one folder. Then work the garden in a fixed order: map and tag first, measure second, assess third, decide last. Doing all four in one pass over the same border saves a lot of walking, and it means every plant is judged on the same day in the same light.
Before the Spade Goes In
Walk the finished map once more with the numbers in hand and no tools. You'll notice things the spreadsheet can't show you: how the morning light moves across the lawn, which gap the hedge is actually filling, how much of the garden disappears when the oak leafs out. Those observations are the beginning of the design, not an interruption to it.
The inventory isn't paperwork for its own sake. It's the difference between a garden that looks newly installed and one that looks like it has always been there — because some of it has.
Photo: icondigital / Pixabay